
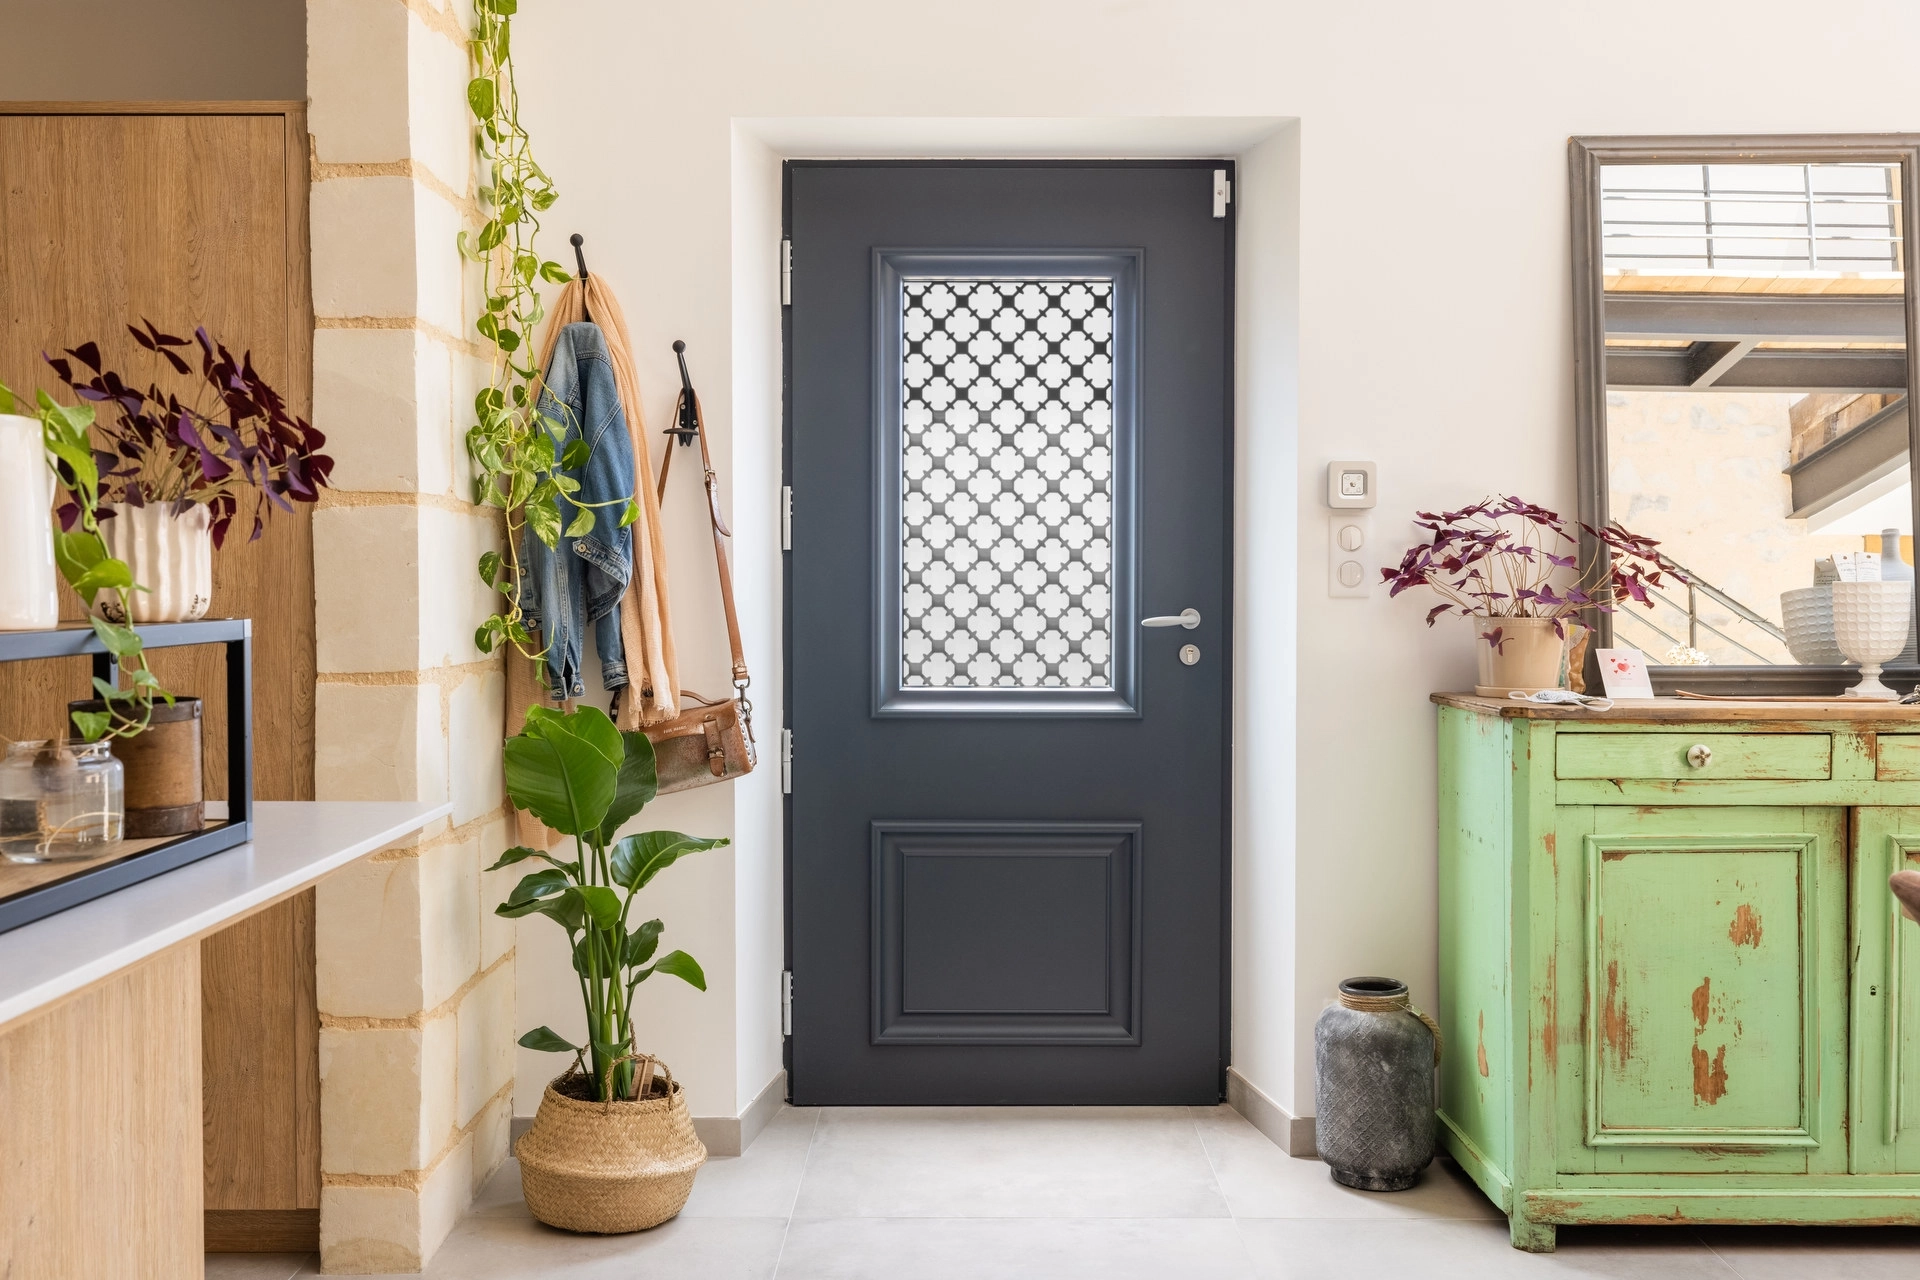
When we enter a room, we naturally discover it from our standing eye level, usually between 1.60m and 1.80m (5'3" to 5'11"). This is our biological reference point. By mimicry, the amateur photographer tends to place their camera at this exact height, thinking they are capturing “reality.”
However, in architecture and interior photography, this “natural” viewing height is often the enemy of aesthetics. It tends to crush volumes, give too much importance to the floor, and distort perspectives. One of the best-kept secrets of professional photographers lies in a simple but radical adjustment: knowing how to lower your center of gravity.
The “Sweet Spot”: The 1.20-Meter Rule
The camera is not a human eye; it frames a rectangular image that needs to be balanced. If you shoot standing up, the downward viewing angle often fills the bottom of the image with a disproportionate amount of floor surface (hardwood, tiles) to the detriment of the ceiling and lighting fixtures.
The ideal height, the “sweet spot,” is generally much lower, around 1.10m to 1.30m (chest or waist height). At this median height, we achieve a perfect balance of masses: there is as much floor as ceiling in the frame. This horizontal symmetry has an immediate psychological effect: the room seems to have higher ceilings, feeling airier and more majestic.
Geometry: Keeping Verticals Straight
The other major advantage of lowering the tripod is geometric. To encompass a whole room while standing, you are often forced to tilt the camera downward. This tilt creates converging vanishing lines: the walls seem to spread outward at the top, and the wardrobes lean dangerously. This is the keystone effect.
By positioning yourself lower, you can keep the camera perfectly horizontal, parallel to the floor. Just as I explain for exterior facade photography, absolute respect for vertical lines is a mark of professional rigor. It anchors the image, making it stable and soothing to the eye.
Respecting Furniture: Don’t Crush the Design
In interior design, furniture is a key player in the composition. Yet, most furniture (sofas, armchairs, coffee tables, beds) is low. If you photograph them from eye level, you look “down” on them. You crush their shapes and only see the seating surface.
By lowering the camera to the level of the furniture, you give it back its dignity. You allow the viewer to see the profile of the sofa, the base of the table, or the design of the chairs. This is particularly crucial in commercial real estate, where the alignment and design of workspace furniture contribute to the brand image. We no longer look down on the furniture; we engage with it.
The Exception That Proves the Rule: Kitchens and Baths
However, photography is an art of adaptation. There are notable exceptions where the “1m20” rule must be broken. This is especially true for functional surfaces.
In a kitchen, if you are too low, you only see the edge of the countertop and hide the sink or the stovetop. Similarly, as we saw with bathroom photography, you sometimes have to adjust the height to avoid a reflection in a mirror or to show the inside of a sink basin. In these specific cases, slightly raising the camera (around 1.40m) reveals horizontal surfaces without reverting to an excessively high angle.
Conclusion
The right shooting height is not guessed; it is constructed. It is not there to reproduce what a standing visitor sees, but to sublime the volumes and the layout of the space. Lowering the viewpoint paradoxically raises the standing of the property.
Do you want images that truly enhance your volumes? Browse my portfolio.